
Tiling a kitchen countertop is one of those projects that looks simple until you actually start planning it. The choices, the prep, and the pacing all matter. Whether the goal is to refresh the space or match it with unique cabinetry designs, tiling adds character when done with care. This post walks through what to think about before starting, how to handle the surface, and how each step fits into the next. It is less about rushing and more about getting comfortable with the process so the finished counter feels solid and intentional.
Selecting the Right Tiles
Choosing tiles for a kitchen countertop starts with everyday use in mind. Counters take heat, spills, and constant contact, so durability matters more than people expect. Porcelain and ceramic tiles tend to hold up well and clean easily, which makes daily maintenance less frustrating. The look still matters, of course. Tile size, color, and finish should feel natural with the rest of the kitchen, not forced. Some patterns are tempting, but complex layouts can slow things down and make mistakes harder to hide. Simple choices often age better and are easier to live with over time.
Prepping the Countertop Surface
Preparation is where most of the work really happens. A clean, flat surface makes everything that follows easier. Old materials need to be removed completely, not just scraped down. Any grease, dust, or residue left behind can weaken adhesion later. Uneven spots should be corrected before mortar is applied, even if they seem minor at first. Moisture protection is also part of this step. A waterproof layer helps protect the structure underneath and keeps problems from showing up months later. Rushing through prep usually shows in the final result.
Laying Down the Tiles
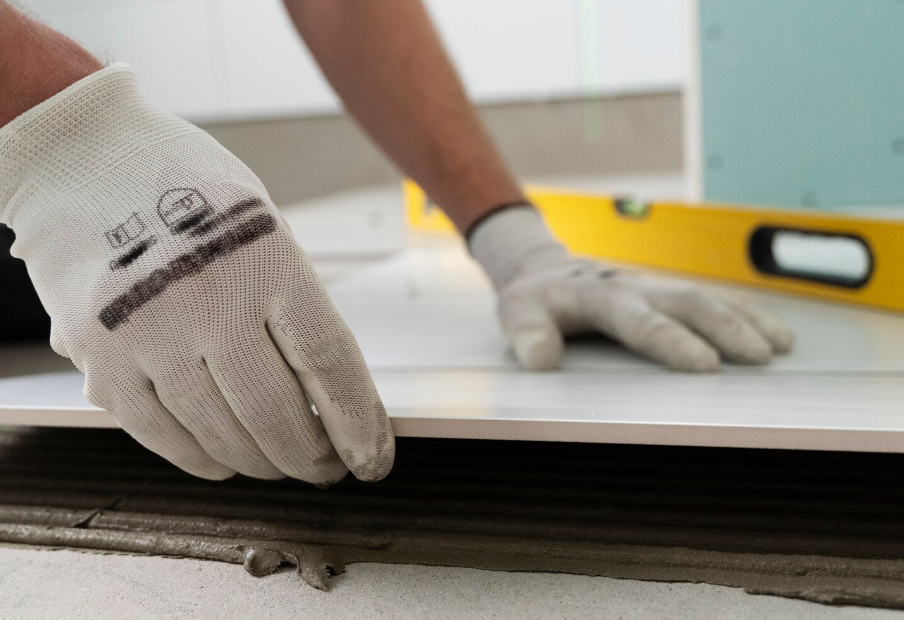
Once the surface is ready, tile placement starts to feel more real. Dry-fitting tiles first helps catch spacing issues early and gives a better sense of how the layout will land visually. Starting from the center keeps the design balanced, especially on larger counters. Mortar should be applied evenly, not too thick and not too thin. Pressing tiles firmly matters, but so does stepping back now and then to check alignment. Minor adjustments are easier to make while the mortar is still workable. Patience here saves frustration later.
Grouting for a Seamless Look
Grouting pulls everything together. The mix should be smooth and workable, not runny and not stiff. Applying it diagonally helps fill joints evenly and reduces gaps. Excess grout should be cleaned as you go, not left to harden. A light haze often appears after drying, which is normal, but it should be buffed away gently. Even grout lines make the surface feel intentional rather than patchy. This step takes focus, but it also shows off the tile work when done right.
Sealing the Finished Countertop
After the grout has had time to cure, sealing protects all the work that went into the countertop. The proper sealant depends on the tile material, so it is worth checking before applying anything. Coverage should be consistent across tiles and grout lines. Letting the sealant dry entirely prevents streaks and uneven spots. Once sealed, the surface resists stains better and handles moisture more reliably. It is a quiet step, but skipping it often leads to regret later.
Maintenance Tips for Longevity
A tiled countertop stays in good shape with steady care, not aggressive cleaning. Mild soap and warm water handle most messes just fine. Harsh cleaners tend to wear down grout faster than expected. Grout lines should be checked now and then for changes in color or texture. Hot cookware should be set on protective pads, and cutting boards help prevent surface scratches. Resealing every so often keeps the countertop protected and looking consistent. Small habits make a noticeable difference over time.
Related Topics: