
Making a sturdy and stylish shelf at home can really change a room. It’s not just about holding stuff; it can be part of the decor. With a little planning and care, you can get something that lasts and looks good. Inspired by the approach used in professional custom cabinetry service, think about materials, design, and the room it’s going in. Grab strong wooden planks, brackets, a drill, screws, a level, and a tape measure. Set up a spot with good light and space to work. Measure, cut, and drill carefully, and fit the shelves snugly. Adding a coat of paint or varnish finishes it off. It’s simple, but doing it thoughtfully makes a big difference.
Materials Needed
For this project, the essentials are pretty straightforward. Solid wooden planks for the shelves, heavy-duty brackets for support, a drill, screws, a level, and a tape measure. Make sure the wood is thick enough so it won’t sag under weight, and pick brackets that feel sturdy. The drill and screws will hold everything together, and a level keeps it straight. A measuring tape helps get things right the first time. It doesn’t need to be complicated, but having the right tools and materials upfront saves a lot of trouble later.
Choosing the Right Design
Think about how you’ll use the shelf. Will it hold heavy books or mostly decorative items? The design should match the room’s style, whether that’s modern, rustic, or something in between. Open shelves make everything easy to grab, while closed cabinets keep things tidy. You might want extra brackets if you plan to store heavier objects. Little details like the shape of the shelves or the finish can make a huge difference in how it looks. Sometimes it helps to sketch it out quickly, even roughly, just to visualize it before cutting anything.
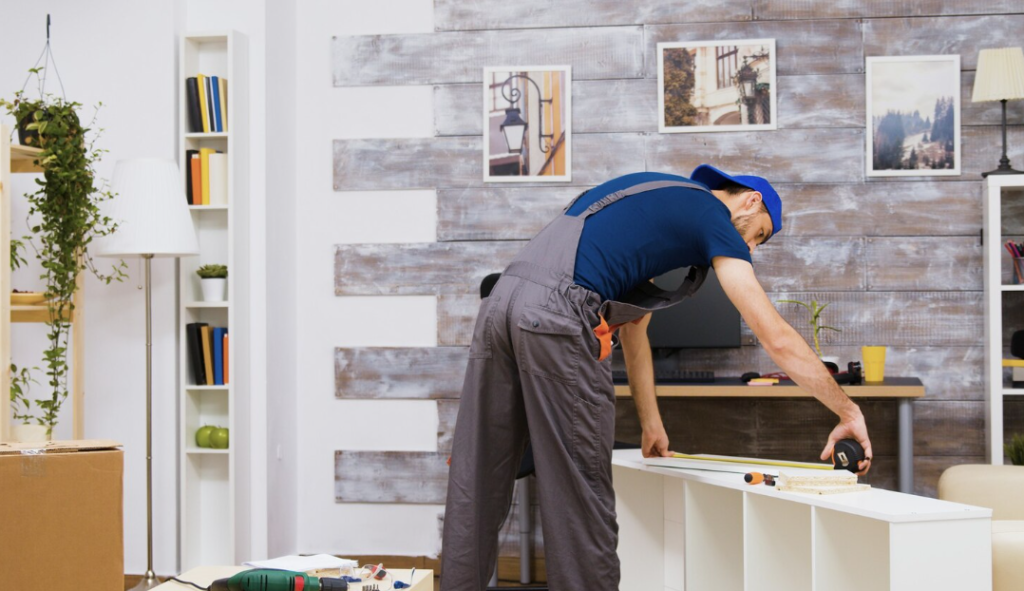
Preparing the Workspace
Clear a space where you have room to work comfortably. A sturdy table or workbench works well. Keep your tools nearby so you’re not moving back and forth all the time. A dust cloth or small vacuum is handy to keep things clean. Wood shavings and sawdust can get everywhere. Make sure you have a power source for the drill and any other tools. Working in a clean, well-lit area makes the whole process smoother and safer. It’s tempting to rush, but spending a few extra minutes getting organized pays off in the end.
Building the Shelf Frame
Start cutting the wood to the sizes you need. Use a square to make sure the corners are right angles. Drill pilot holes so the wood doesn’t split when you screw pieces together. You can add a bit of wood glue at the joints for extra strength. Clamps help hold everything steady while you work. Check that the frame is level and square before letting it set. Taking your time here makes the shelf sturdy and helps avoid problems later. A solid frame is the foundation; you don’t want it wobbling once it’s loaded.
Adding the Shelves
Measure the inside of the frame and cut your shelves to fit. Double-check your marks before cutting; small mistakes here are hard to fix. Place the shelves evenly so everything looks balanced. Once they’re in, press lightly to make sure they sit securely. You can adjust as needed, but aim for a snug fit. The shelves are the heart of the project; they hold everything and show off your handiwork.
Finishing Touches
A coat of varnish or paint gives the shelf protection and makes it look polished. Varnish shows off the wood’s natural beauty, while paint lets you match it to the room. Clean the surface first and apply thin layers, letting each one dry. Lightly sand between coats for a smooth finish. Once dry, take a close look and fix any small flaws. This finishing step may feel tedious, but it really makes the shelf look complete and last longer.
Related Topics: