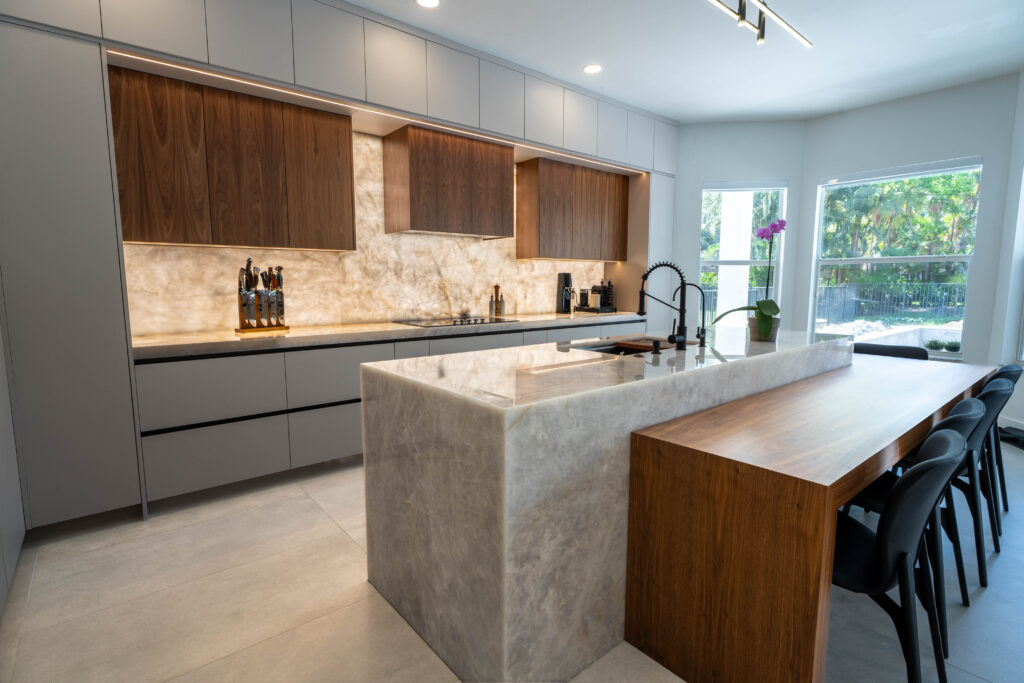
Building kitchen cabinets from scratch takes real skill, but it’s absolutely doable with the right approach. The key? Paying attention to details and using quality materials. Think solid hardwoods like oak or cherry, reliable plywood for the boxes, and smooth-operating soft-close hinges. When you’re ready to invest in the best custom cabinet solutions for your home, understanding the building process helps you appreciate the craftsmanship that goes into it.
Start with a solid design plan that accounts for your space and how you actually use your kitchen. Measure twice, cut once. Accuracy matters when you’re fitting pieces together. Get your joints aligned right, secure everything properly with good glue and clamps, then add the hardware and finish that makes it all look seamless.
Choosing the Right Materials
When selecting materials for kitchen cabinets, durability and functionality should drive every decision. Quality hardwoods, such as oak, maple, or cherry, work well for frames and doors because they withstand daily wear. Cabinet boxes need something solid too; plywood or MDF gives you the stability and strength that keeps everything square.
Don’t skimp on hardware either. Soft-close hinges and drawer slides might cost a bit more, but they add a professional feel and prevent the annoying slam. Getting the materials right from the start means your cabinets will look good and function properly for years, not just months.
Designing Your Cabinet Layout
A good cabinet layout starts with understanding your actual kitchen space. Sketch out where your windows, doors, and outlets sit; these fixed elements shape where cabinets can go. Think about how you move around when cooking. You want storage near the stove, cleaning supplies under the sink, and dishes close to the dishwasher. Measure everything carefully to figure out cabinet sizes and placement that make sense.
Factor in the height of whoever uses the kitchen most; no point putting everyday dishes where they can’t be reached. Plan for a mix of drawers, shelves, and possibly specialized storage for items like baking sheets or spices. A smart layout is what separates functional kitchens from frustrating ones.
Cutting and Preparing Wood Pieces
Cutting cabinet pieces demands accuracy and patience. Every measurement needs to be spot-on because even small errors compound when multiple pieces are fitted together. Use sharp, quality tools; dull blades give you rough cuts and potential safety issues. The choice of wood also matters, as it affects both the appearance of the cabinets and their longevity.
Before making any cuts, inspect each piece for knots, warping, or other flaws that could cause problems later. Taking time at this stage prevents headaches during assembly. When you’ve got all your pieces cut and ready, double-check that they match your plans before moving forward.
Assembling Cabinet Components
Assembly is where your careful prep work pays off. Each joint needs to line up perfectly for the cabinet to be square and sturdy. Lay out all your pieces in order first, then verify your measurements one more time, it’s easier to catch mistakes now than after the glue dries. Apply wood glue to the joints and use clamps to hold everything securely in place while it sets.
Don’t rush this part. Check constantly for gaps or pieces that aren’t sitting flush, and make adjustments right away. A cabinet that’s even slightly out of square will cause problems when you try to hang doors or install it. The goal here is to create something solid that appears to have come from a professional shop.
Adding Finishing Touches
After the main structure is complete, the details bring everything together. Start with hardware installation, hinges need to be placed precisely so doors hang straight and close properly, handles should line up across multiple cabinets, and drawer slides must be level for smooth operation.
Next comes trim and molding, which hide any gaps and give the cabinets a polished, built-in look. The surface finish is your last step. Whether you’re staining or painting, apply it evenly in thin coats. This protects the wood and gives you that clean, professional appearance that separates amateur work from quality craftsmanship.
Installing Your Custom Cabinets
Installation requires careful planning and execution. Start by marking exactly where each cabinet goes on the wall, using a level to ensure everything is straight. Find the wall studs and secure cabinets directly to them with heavy-duty screws; this isn’t the place to cut corners on fasteners.
As you work, constantly check that cabinets are level both side-to-side and front-to-back. Use shims to correct any irregularities in the wall or floor. Keep consistent spacing between cabinets for a professional look.
Once the boxes are secure, attach doors and drawers, adjusting hinges until everything opens and closes smoothly. Stand back when you’re done and appreciate the work. Building cabinets from scratch is no small accomplishment.
Related Topics:

