
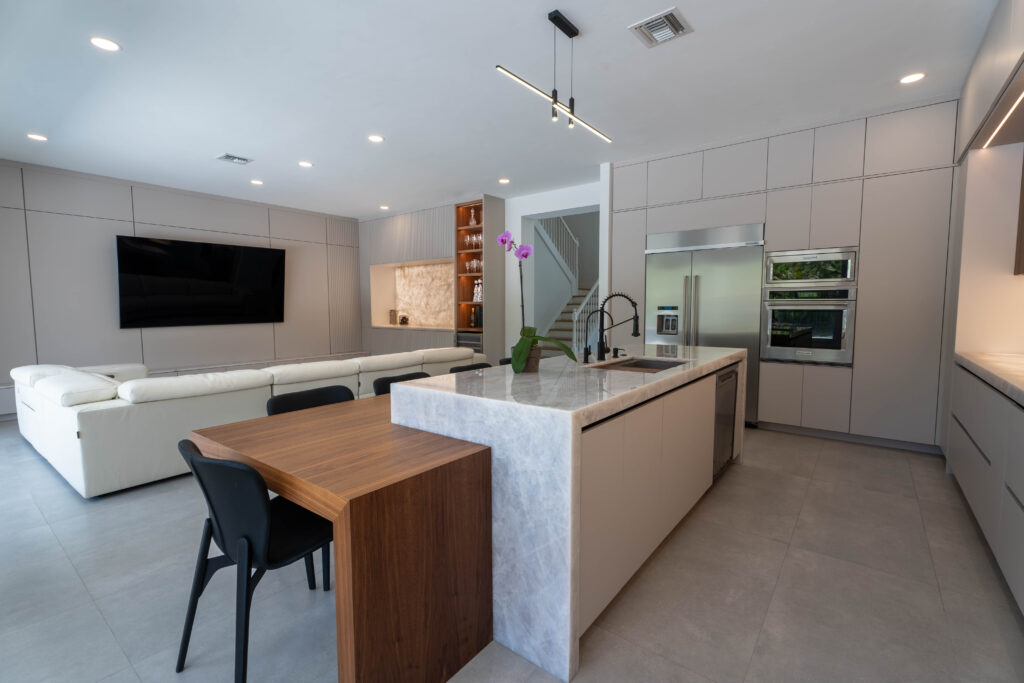
Refinishing your kitchen cabinets can completely refresh the look of your space without the expense of a full remodel. Whether you’re updating worn finishes or modernizing your style, careful attention to detail is key to achieving lasting results.
Many homeowners seek guidance from custom cabinetry services in Palm Beach County, FL, to ensure a refined and professional outcome. Begin by thoroughly cleaning and sanding the cabinets, addressing any imperfections before applying primer and paint.
Use quality materials, apply smooth and even coats, and finish with precise detailing such as molding or trim. Each step contributes to a polished transformation that brings new life and character to your kitchen.
Prepping Your Cabinets
Before refinishing, clean and degrease every cabinet surface to create a smooth base for paint or stain. Remove all handles, knobs, and hardware, then lightly sand the surfaces to remove old finishes and rough patches. Wipe the cabinets with a tack cloth to eliminate dust and residue.
Check for dents or scratches and repair them with wood filler, allowing it to dry fully before sanding again. Careful preparation ensures that the new finish adheres properly and lasts longer. Taking time with this step sets the groundwork for a seamless and professional-looking result.
Choosing the Right Materials
Selecting the correct materials is vital for a durable and attractive finish. A primer designed for wood or laminate surfaces helps the paint bond effectively and prevents peeling or streaking. Choose a high-quality paint or stain that complements your kitchen’s overall style and provides long-term protection.
Semi-gloss and satin finishes are popular for cabinets because they resist moisture and are easy to clean. Quality brushes and rollers help achieve smooth, consistent coverage without visible strokes. Investing in high-quality materials ensures that your refinished cabinets maintain their appeal and withstand daily use.
Sanding and Cleaning
Sanding and cleaning play a major role in creating a flawless final appearance. Sanding removes any uneven textures or old varnish, preparing the surface for primer. Use fine-grit sandpaper to smooth the wood without damaging it.
Once sanding is complete, clean the cabinets thoroughly to remove dust, oil, or grease that could interfere with adhesion. Take time to reach corners and edges where buildup often occurs. Proper sanding and cleaning result in a clean surface that allows the new finish to adhere evenly and look professionally done.
Applying Primer and Paint
After preparing the cabinets, the next step is applying primer and paint. Begin with a high-quality primer to help the paint bond securely and resist moisture. Apply thin, even coats using a steady brush or sprayer, letting each coat dry completely before adding the next.
Once primed, apply the paint in light layers, working in the direction of the wood grain for a smooth texture. Multiple thin coats provide better coverage than one heavy layer. Allow proper drying time between coats to prevent smudges or unevenness. This process ensures a sleek, polished look that lasts for years.
Adding Decorative Finishes
Adding decorative finishes is where craftsmanship and creativity come together. Consider installing crown molding or trim to elevate the cabinets’ design. Replace outdated hardware with elegant handles or knobs that match your kitchen’s style. Decorative finishes should be installed with accuracy to maintain symmetry and clean lines.
Each detail, from precise cuts to careful placement, adds sophistication and personality. Whether you prefer a modern minimalist approach or a classic decorative touch, these finishing elements make your refinished cabinets stand out beautifully.
Sealing and Protecting
The final step in refinishing is sealing and protecting your cabinets to ensure long-term durability. A clear sealant helps guard against moisture, stains, and scratches while maintaining the luster of the paint or stain. Choose a sealant that complements your desired finish, whether matte, satin, or glossy.
Apply thin, even coats with a brush or roller, following the grain of the wood for a consistent finish. Allow each coat to dry thoroughly before adding the next. Inspect your work for touch-ups, and once complete, your cabinets will have a lasting finish that looks as good as new.
Related Topics: