
Measuring kitchen countertops sounds straightforward until you actually start doing it. Small details add up fast. One missed inch can throw everything off, especially when the counters need to line up with walls, appliances, and stylish custom cabinetry nearby. This guide is meant to walk through the process without rushing it. Not to give quick answers, but to explain what usually gets overlooked and why slowing down helps more than people expect.
Essential Tools for Measuring Countertops
You do not need a lot of tools, but the ones you use should feel reliable. A solid tape measure is the main thing. One that does not bend or snap back too fast. A pencil and paper matter more than people think, since phones get set down or locked mid-measurement. Some kitchens have odd angles, and a laser measure can help in those cases, though it is optional. The goal is consistency. Use the same tools the whole time so the numbers stay honest.
Preparing the Countertop Surface
Before measuring, clear everything off. Not most of it. All of it. Even small items shift where the tape sits. Wipe the surface down so crumbs or residue do not interfere. Take a moment to look closely at seams, edges, and corners. Chips or uneven spots can change where you measure from. It also helps to check if the surface feels level. Countertops are not always as straight as they look at first glance.
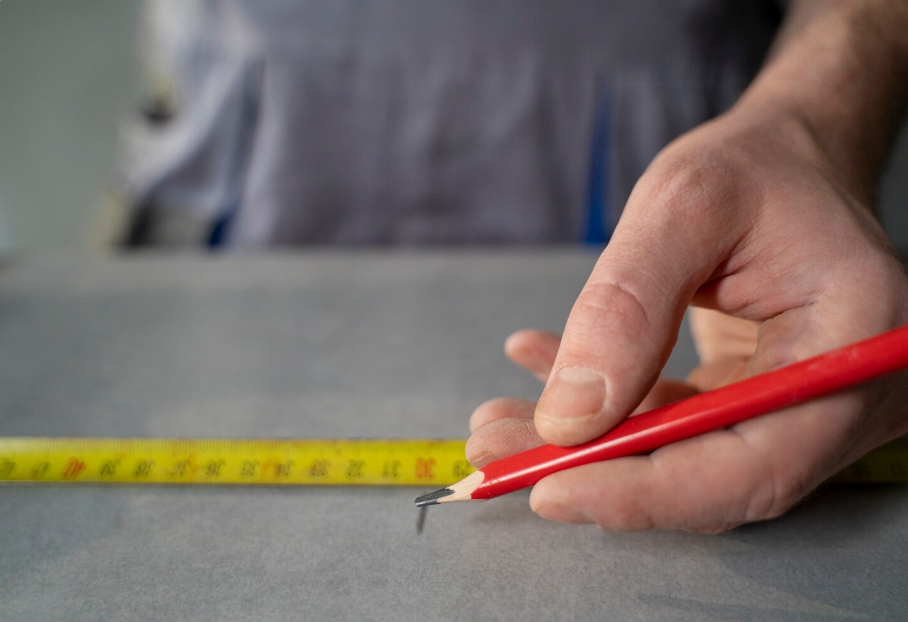
Measuring Linear Feet of Countertop
Start at one end and work slowly across. Follow the countertop exactly as it runs, even when it turns or narrows. Straight sections are simple, but corners need patience. Measure each section on its own if the layout breaks up. Write the numbers down right away. Do not trust memory. Adding everything together later gives a clearer total and keeps mistakes from stacking up.
Accounting for Cutouts and Edges
Cutouts deserve more attention than people give them. Sink openings, cooktops, and fixtures need precise space, not estimates. Measure the actual opening, not just the appliance size. Edges matter too. Thickness, overhang, and decorative profiles all affect the final fit. If something sticks out or drops down, note it. These details are easy to skip and hard to fix later.
Double-Checking Measurements for Accuracy
This part feels repetitive, but it matters. Measure again. Then measure once more. If a number looks strange, it probably is. Walls can bow slightly, and cabinets may not line up perfectly. Stepping away for a few minutes and coming back helps catch things you missed the first time. It happens more often than people admit.
Tips for Communicating Measurements to Installers
Clear notes make a difference. Write legibly and label what each measurement refers to. A simple sketch goes a long way, even if it is rough. Talking through the measurements with the installer helps too. Questions usually come up, and it is better to handle them early. When everyone works from the same information, the install tends to go smoother and with fewer surprises.
Related Topics: